You can add or modify Autoresponders for your email accounts through this interface. You can configure an email to send an automated reply to all emails you receive to your email account. You can make an automated reply to say that you have received the email and you will reply soon.
If you are on vacation, you can configure the Autoresponders to reply that you are not available at this moment etc. you can also set a specific duration of time in which the automated reply will be sent.
Add an Autoresponder
To add an autoresponder, follow these steps −
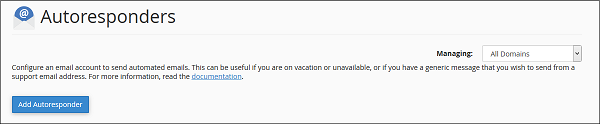
Step 1 − Open cPanel Autoresponders by clicking on the Autoresponder link found in the Email section of cPanel Home.

Step 2 − Click Add Autoresponder in this section. It will take you to Modify/Add Autoresponders.
Step 3 − Choose a character set, recommended is that you leave it as it is, which is utf–8.
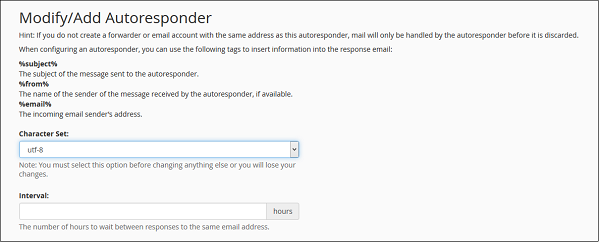
Step 4 − Enter the number of hours to wait between responses to the same email address, this helps in preventing sending the same email to the same user multiple times.
Step 5 − Enter Email and select Domain for which you want to add an autoresponder.
Step 6 − Enter the outgoing email’s sender name, it may be your name or your company’s.
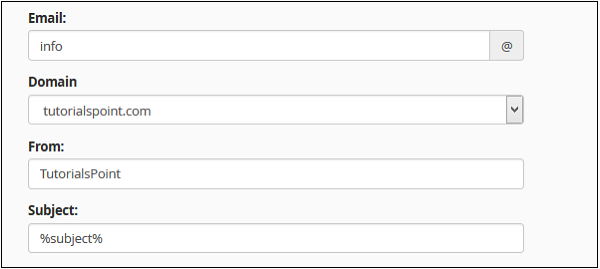
Step 7 − Enter the Subject of your outgoing Email. You may keep it the same as the incoming email by putting %subject% in Subject, you can provide your custom subject too.
Step 8 − Enter the Body of your Email. You may use %from%, which will be the name of the sender, if available. You may use %email% in the body too, it will be the email address of the sender.
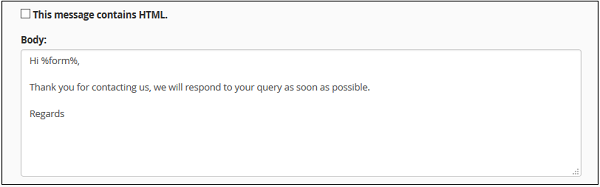
Step 9 − Select This message contains an HTML checkbox if there is HTML in your Email Body.
Step 10 − Schedule a Start, End Date, and Time for your autoresponder email. You can choose to start immediately or on a specific date at a specific time. You can choose this autoresponder to stop sending emails on a specific day, or you can choose never to stop an autoresponder. You can change this configuration anytime.
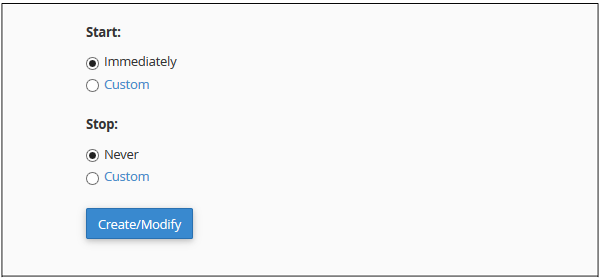
Step 11 − Press Create/Modify button to create an autoresponder.
Edit or Delete Autoresponder
To edit or delete an autoresponder, find the Current Autoresponder by scrolling down in the Autoresponder section.
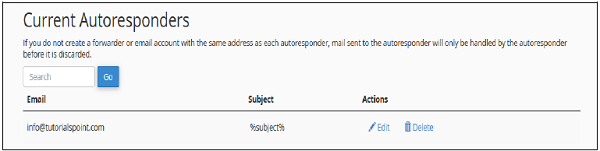
Click Edit corresponding to the autoresponder to edit and it will take you to the same interface, which we have gone through when creating the Autoresponder. You can use the same interface to make the change.
To delete an autoresponder, click Delete corresponding to that autoresponder. It will ask you for confirmation, click Delete to delete that autoresponder.